Application for the Web-IO Digital:
Display building status in camera images with the Web-IO Digital and Mobotix camera
Network cameras have become commonplace for building monitoring and property surveillance. The functional scope of today’s IP cameras extends far beyond just displaying monitoring images.
Depending on the manufacturer and options, the cameras can for example receive text and status messages over the network and show them in the camera image. Together with the Web-IO Digital this technology makes it possible for example to show the current opening status of windows and doors in the surveillance image of a corridor.

Using the example of a Mobotix camera and a Web-IO Digital together with door and window contacts, we will show you here how building monitoring can be handled even more efficiently.

The Mobotix camera was installed so that the corridor of a building floor can be seen over its entire length. Unfortunately you cannot see whether the entry door is closed or not. The same is true for the window in the corridor. To provide certainty without having to install a second camera, the door and window have simply been fitted with contacts which are monitored by a Web-IO Digital. In addition, a contact was installed in the door lock which detects whether it has been closed or locked.

Step 1 - Configuring the Web-IO Digital
Preparations
You have already provided your Web-IO Digital- with power,
- wired up the contacts
- connected it to your network,
- assigned it an IP address - which with WuTility is no problem
Configuring input-triggered alarms
After logging in as Administrator, select from the menu tree as the first alarm:
Config >> Device >> Alarms >> Alarm 1

With these settings the required alarm is triggered when there is a change in status on Input 0 (proceed the same for both other inputs). Now you just need to specify how the text message should appear on the Mobotix camera. To do this, select from the menu tree Config >> Device >> Alarms >> Alarm 1>> TCP

For IP Addr you enter the IP address of the Mobotix camera, and for Port the port which is enabled for the Mobotix camera for network messages (see below). For TCP Text enter the text message for later display in the camera. The placeholders <i0>, <i1> <i2> are replaced by the Web-IO by the actual input status. (Important: The last line must be finished with Return - new line. If you do not want the messages to appear on the left image edge but rahter centered, the distance in the alarm text can be filled out with spaces.)
Finally the settings must be saved in the Web-IO using Logout >> Save.
Step 2 - Configuring the Mobotix camera
Setting up the server port for network messages (RC)
Note: The Web and Basic models of the Mobotix camera do not support network messages
First log in to the Mobotix camera as Admin.
Then click on the button Setup Menu

In the following window select Event Settings.

Then scroll in the field Network messages (RC).
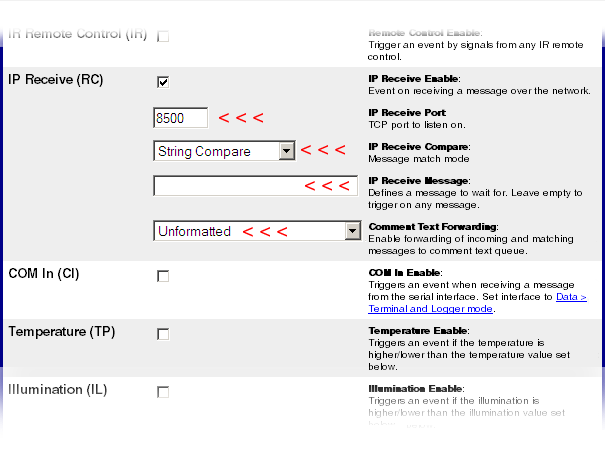
Network Messages must be enabled. For Port enter the port to which the Web-IO Digital sends its message. The other settings can be used as they appear in the upper illustration.
Finally, scroll down and click on the Set button. Then go back to the Setup Menu overview.
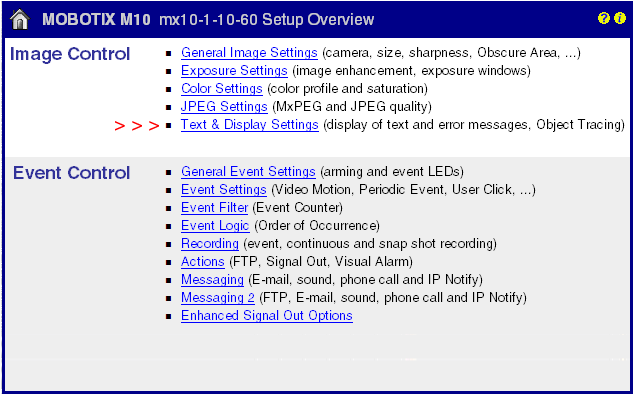
Setting up the text display
Here you select Display and text settings.
Here you can specify in which form the received network messages should be displayed.

In the Comments field you specify what should be displayed. This can be a fixed text such as a Web address - but it is also possible to position a placeholder for received network messages.
^S3 stands here for 3 lines of message text.
Tip: A total of 60 lines are available. If as in the example shown you want a fixed text at upper left but the message itself at lower left, a corresponding number of line feeds must be inserted by pressing Return (here one line of text, 56x Return, three lines of message).
Finally the settings must be applied by clicking on the Set button. Then return to the Setup Menu overview.
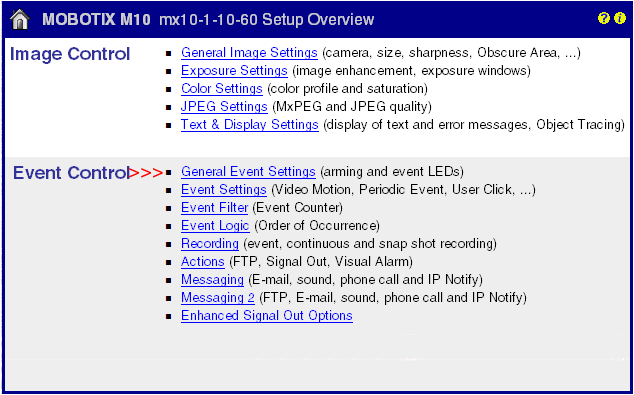
Now select General Event Settings
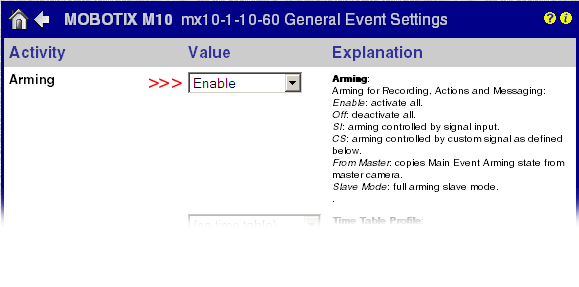
Only if the item Arming the Mobotix-Cam is enabled will the Mobotix camera accept network messages.
Finally the settings must be applied by clicking on the Set button.
Then return to the Admin menu..

Scroll to the area Configuration and select Save.
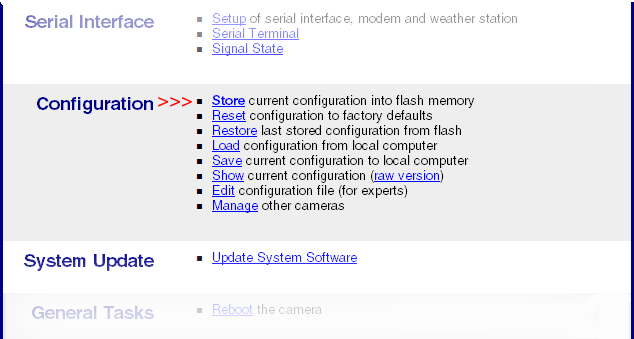
Follow the instructions for permanently saving all settings
After an input changes for the first time, the actual status should be displayed in the camera image.
Of course you can use the same procedure to also display temperature, relative humidity and barometric pressure in a camera image. For this you need a Web-IO Digital instead of the Web-Thermo-Hygrobarograph. See
No problem: We will be glad to send you the Web-IO 12xDigital at no charge for 30 days. Simply fill out a sample ordering form, and we will ship the Web-Thermograph for testing on an open invoice. If you return the unit within 30 days, we will simply mark the invoice as paid.
To sample orders