Application example for the Web-IO Digital
Control Web-IO Digital via MQTT using an iPhone
Switch consumers in the local network over the network, barrier-free from the iPhone
Until now triggering switching actions in your own home remotely has been cumbersome. Either the home firewall had to be opened up and configured, or the services of a home automation provider including their cloud access had to be employed
Now there is an alternative with the Web-IO 4.0 Digital models used together with MQTT. In MQTT protocol communication between controlling app and the switching Web-IO is not direct, but rather through any desired broker in the internet. Both communication partners connect from the local network to the broker over the internet. This connecting direction is permitted by most firewalls.
Set up broker access
There are numerous providers of free broker services. In the example shown we have chosen the broker from HiveMQ.
On the web page https://hivemq.com you can click in the "Hive MQ Cloud for free" area on "Get started now!". Use "Sign Up Now" to begin configuring access. Here you also provide a user name and password for access.
Set up the Web-IO for switching via MQTT
Preparation
- Provide power to the Web-IO and connect the IOs
- Connect the Web-IO to the network
- Assign IP addresses
Configuration
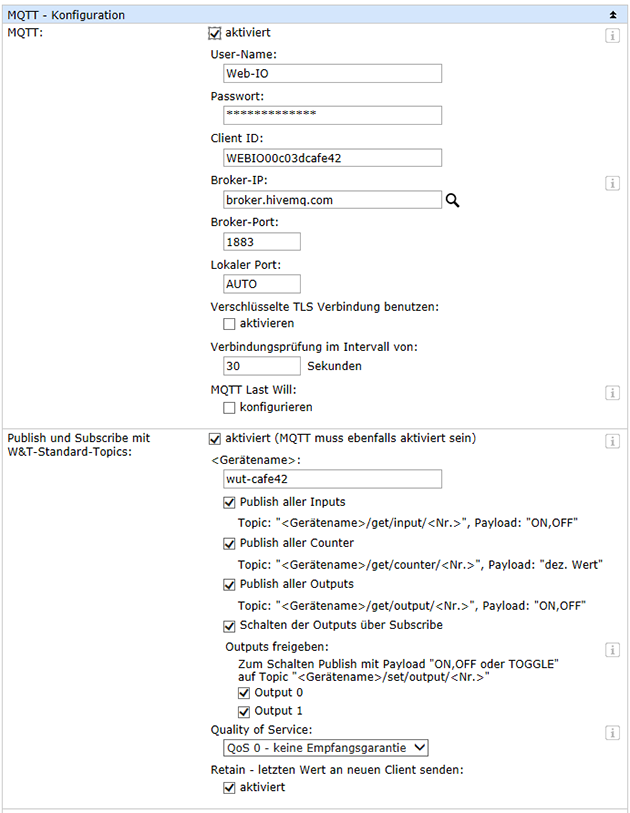
Log in to the web interface of the Web-IO as administrator and in the menu tree select Communication paths >> MQTT. Here you can assign the access data for the MQTT broker and enable Publish and Subscribe with W&T standard topics.
Install and configure app for MQTT
Among the numerous MQTT apps available for the iPhone we have decided on the "IoT ONOFF" app, which can display up to 10 MQTT topics without licensing. "IoT ONOFF" can be simply downloaded and installed from the Appstore.
After starting the app you have the option of viewing several sample visualizations which can be selected in groups. These examples should be deleted for a regulated new configuration. In addition a broker is already pre-configured. Use the menu point Settings and MQTT Broker to adjust the broker configuration.
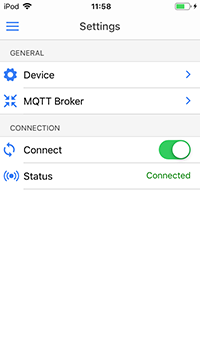
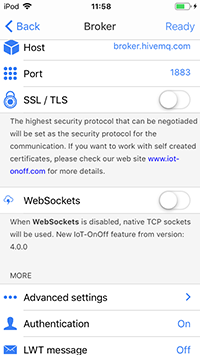
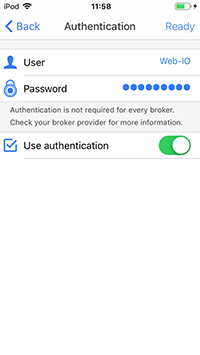
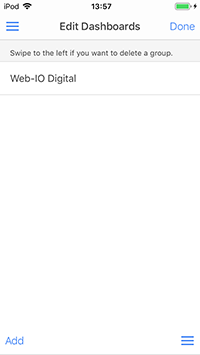
Next create a new visualization in which you can use Edit Mode to tap on add. Exit Edit Mode using Done and tap on the newly created dashboard entry. By tapping on the "+" symbol new display elements can be added to the dashboard. For an output add the type "Switch". To display an input use "LED".
Switch to Edit Mode. Here you can adjust the properties of the display elements. Assign the respective display element any desired name. It is important that the values for WAHR and FALSCH are replaced by "ON" and "OFF".
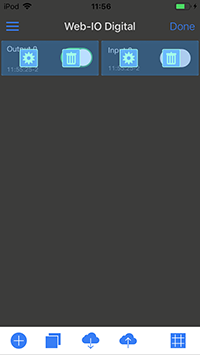
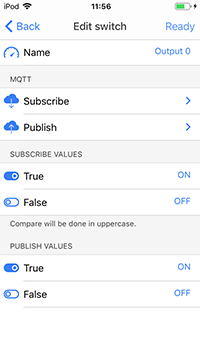
Now the topics for Subscribe and Publish (for the output only) need to be set. Once the configuration is completed, exit Edit Mode using Done. The states of the input and output should now be displayed and the output should be switchable from the dashboard.
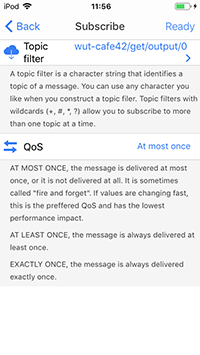
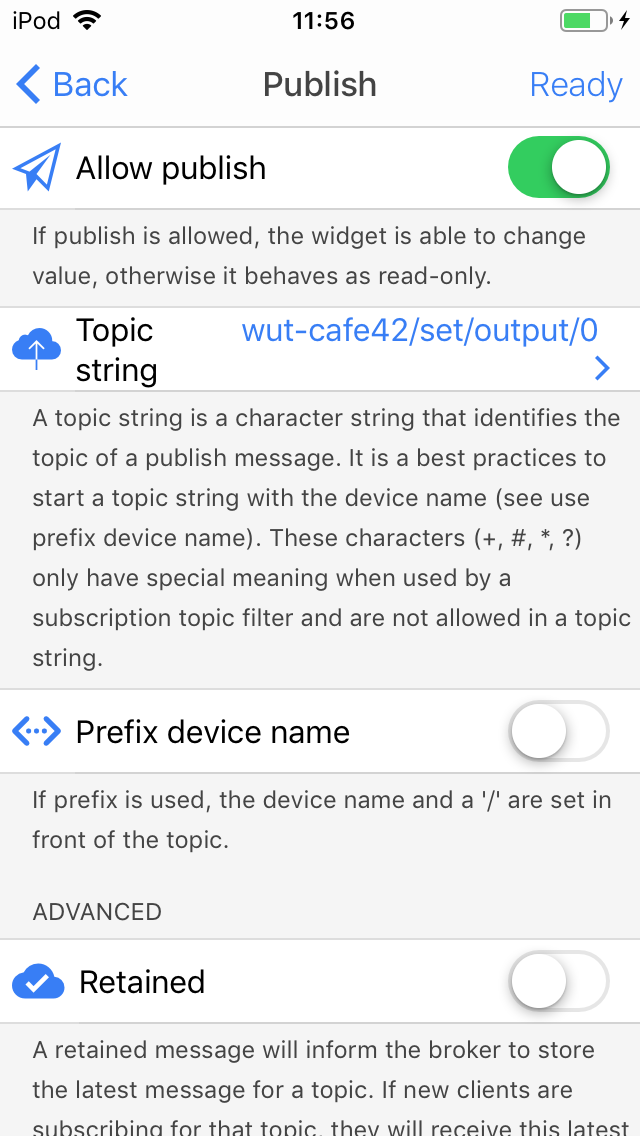
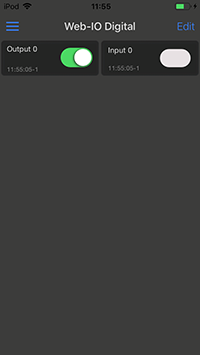
By adding additional topics, for example a Web-Thermohygrometer, you can also of course monitor other values and information such as temperature and relative humidity.
You can of course switch and monitor with MQTT using Android smartphones as well.


